

Affiliate disclosure: As an Amazon Associate, we earn from qualifying purchases, at no extra cost to you. We research rather than test, and commissions never change our rankings. This site is reader-supported: those commissions pay for hosting, research and keeping every guide up to date, so if a guide helped you, buying through our links is an easy way to support it. How we rank · Full disclosure
TL;DR
- Any light bar with real current draw needs a relay harness fused directly from the battery — not a splice into a factory circuit.
- Watts ÷ 12 ≈ amps: a 120W bar draws about 10A; add up every light before sizing one fuse and harness for more than one light.
- Wire gauge depends on the round-trip run length, not just the amp draw — ABYC's method uses a 3% voltage-drop limit for lighting circuits (Blue Sea Systems).
- Size the fuse to the wire's ampacity, not the light's draw alone — the accepted practice is 125% of the continuous load, capped at 80% of the wire's rated ampacity.
- If an existing switch's current rating is below what the light needs, add a relay rather than running the light through that switch directly (RIGID Industries).
Why a Relay Harness, Not a Direct Splice
A relay is an electrically controlled switch: a small trigger current from a dash switch activates the relay, which then closes a separate, heavier-gauge circuit running directly from the battery to the light. This keeps the high-current path as short as possible and isolated from the vehicle's existing wiring, rather than forcing a factory circuit — sized and fused for its own original purpose — to carry a load it was never designed for. Owners who skip the relay and splice directly into a factory circuit report melted connectors, tripped fuses for unrelated vehicle systems, and in some cases damage to the factory wiring harness itself as the most common results.
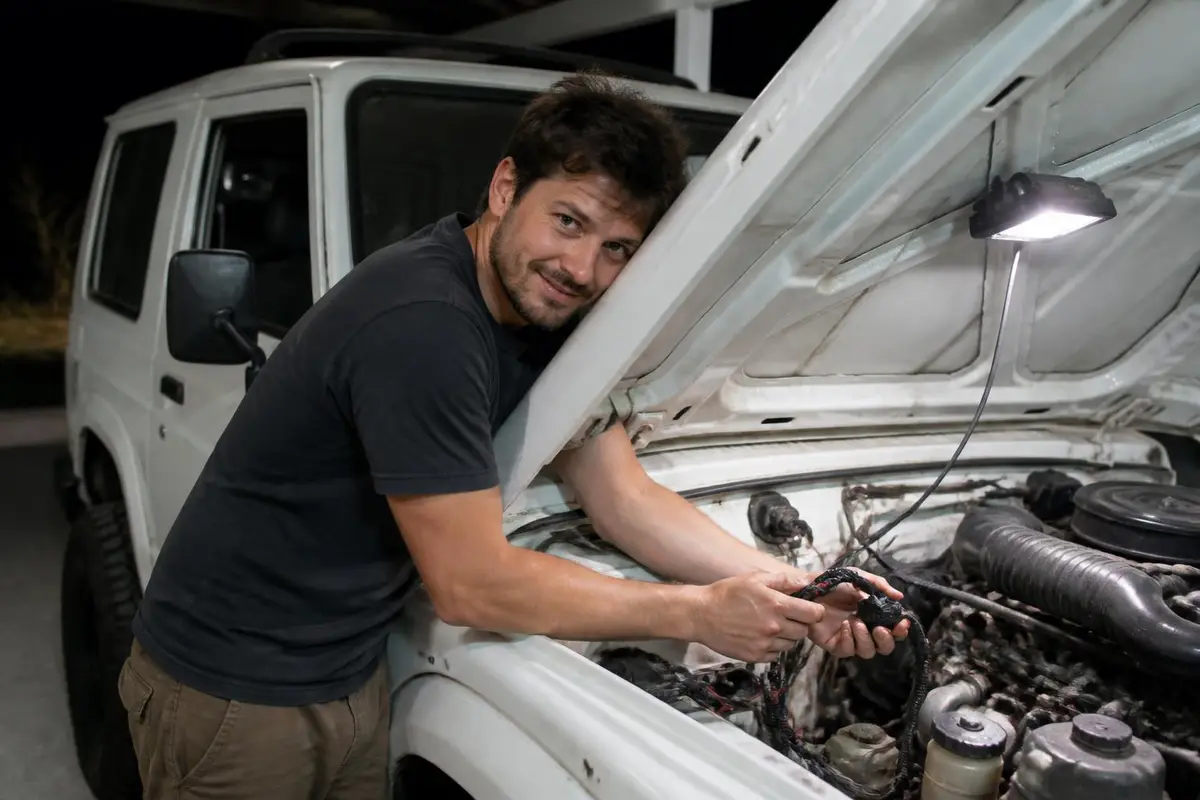
What a Wiring Kit Actually Contains
A standard light-bar relay harness includes the relay itself, a fused lead that connects directly to the battery's positive terminal, a ground wire, a length of wire running to the light bar's location, and a lead running to a dash-mounted switch. Most light bars sold for this purpose ship with a compatible harness included or available as a matched accessory; using a harness rated for the specific light's amperage draw, rather than a generic or undersized harness, is the detail most likely to prevent an installation from underperforming or failing early.
The Installation Sequence, at a High Level
Disconnecting the battery's negative terminal before starting any wiring work removes the risk of an accidental short while running wire through the engine bay. The fused lead connects to the battery's positive terminal, with the fuse holder placed as close to the battery as practical so the entire run of wire beyond it is protected. The relay mounts in a dry, accessible location, and the wire run to the light bar itself follows factory wiring routes where possible — along the vehicle's existing harness path — using zip ties or wire loom to secure it away from moving parts, hot exhaust components and sharp edges. The switch wire routes into the cabin through an existing grommet or a new, properly sealed pass-through, connecting to a dash-mounted switch in a location the driver can reach without difficulty.
Fuse Sizing and Wire Gauge
The fuse protecting the circuit should be sized to the actual current draw of the connected lights, not oversized "to be safe" — an oversized fuse defeats the fuse's actual purpose, which is to fail before the wire itself does under a fault condition. Wire gauge needs to be sized to both the current draw and the total length of the run, since a longer run experiences more voltage drop and needs a heavier gauge to deliver full power to the light. Most light-bar manufacturers publish a recommended fuse rating and wire gauge for their specific product, and following that published spec rather than guessing is the more reliable approach for a first-time installer.
Working Out Wire Gauge From Amp Draw and Run Length
Wire gauge for a 12-volt automotive circuit is built to SAE J1128, the industry construction standard for the stranded, insulated primary cable used throughout a vehicle's lighting and accessory wiring. The American Boat and Yacht Council's DC wiring standard (E-11), distilled by Blue Sea Systems into a simple lookup method, sizes wire from two inputs: the circuit's current draw and its full round-trip length — power out to the light and back to the battery, not the one-way distance. Lighting circuits get a tighter 3% allowable voltage drop (the same category as navigation lights and electronics), versus 10% for less critical loads, because a light dimming under load is functionally a wiring problem. Blue Sea's own worked example: an 80-amp circuit with a 50-foot round-trip run needs 4 AWG wire to stay inside that 3% drop — a heavier gauge than the amp draw alone would suggest, because the run is long. A shorter light-bar run at a fraction of that current needs far less copper, but the same principle applies: read the amp draw and the full round-trip distance together, not the amp draw alone, before picking a gauge.
Fuse rating follows a separate rule once the wire gauge is set: size the fuse at roughly 125% of the light's continuous draw, but never above 80% of the wire's rated ampacity — the same derating logic that underlies NEC branch-circuit sizing for continuous loads, adapted to a 12-volt circuit. In practice that means the fuse protects the wire, not just the light: if the harness wire's ampacity is lower than the fuse chosen, the wire — not the fuse — is the failure point in a fault. This is also why installing a bigger fuse than a kit ships with is the wrong fix for a fuse that blows: a wire undersized for the load is defeating the fuse's protective purpose, not the fuse being too small for the light.
Common Installation Mistakes
Mounting the fuse holder far from the battery, rather than immediately adjacent to it, leaves a long unprotected wire run vulnerable to a short before it ever reaches the fuse — a mistake that defeats much of the fuse's protective purpose. Failing to seal wire connections with dielectric grease or heat-shrink tubing at every joint is the most commonly reported cause of water intrusion and connection failure after a season of trail use, even on lights rated for a high IP water-resistance code. Running wire without adequate strain relief near a moving or flexing point — a door hinge area, a suspension component — leads to chafing and eventual wire failure well before the light itself would otherwise need replacing.
Switch Placement and Keeping Off-Road Lighting Separate
Wiring the light bar through its own clearly labeled, dedicated switch — rather than tying it into an existing factory circuit like the high-beam switch — makes it straightforward to keep auxiliary lighting off during normal on-road driving, which matters both for courtesy to other drivers and for the state-level legal restrictions covered on our off-road lighting hub. A separate switch also avoids the confusion and potential factory-wiring interference that comes from tapping into a circuit the vehicle's own systems depend on.
Testing Before Considering the Job Finished
Testing every connection and the light itself before buttoning up wire loom and reassembling any trim removed during installation catches a loose connection or wiring error while it's still easy to access, rather than after the truck is back together and a problem requires redoing finished work. Running the light briefly with the engine on, checking for any unusual dash warnings related to the electrical system, and confirming the relay clicks audibly when switched are quick checks worth doing before considering the installation complete.
Wiring Multiple Lights on One Circuit
Running more than one light — a bar plus ditch lights, for instance — from a single relay and switch is possible but requires sizing the fuse and wire gauge to the combined draw of all connected lights, not just one. Many owners instead wire each light or light category through its own dedicated relay and switch, covered in the ditch-lights-versus-rock-lights comparison on this hub, both for simpler troubleshooting if one circuit develops an issue and for the flexibility of running different lights independently rather than only together.
How We Cover Wiring Installation
This guide is drawn from manufacturer installation documentation and a wide base of verified owner installation reports and common failure patterns from wheeling-forum threads. We do not install lighting ourselves — see how we rank for the full method, and the off-road lighting hub for how wiring fits alongside beam pattern and IP rating in the full buying picture.
Recommended gear
Lighting for trail camp and night driving
Affiliate disclosure: As an Amazon Associate, we earn from qualifying purchases, at no extra cost to you. Purchases through these links help keep this site running and up to date. Learn more

Best for road-legal SAE/DOT auxiliary lighting.
- Pair of SAE/DOT-compliant white LED pods.
- Street-legal auxiliary lighting with amber backlight.
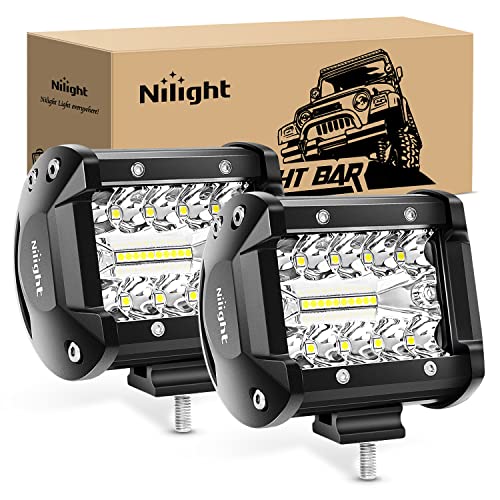
Best for affordable extra light for trail camp and night driving.
- Pair of 4 in, 60W flood/spot combo LED pods.
- Budget lighting for camp and slow trail driving.

Best for a compact compressor for tires up to 33".
- Compact 12V compressor, 120 PSI, for tires up to 33 in.
- Small enough to keep in the vehicle full-time.

Best for plugging a tread puncture on the trail.
- Reamer-and-plugger kit for tread punctures.
- Lets you plug a tire on the trail instead of changing it.
We research products from manufacturer specs and owner feedback; we don't test them ourselves. How we choose.
Sources
- KC HiLiTES — Light Bar Wiring Support — Relay-and-fuse wiring approach: a low-current dash switch triggers a relay that feeds the light through its own fused line run directly from the battery, rather than splicing into a factory circuit.
- Blue Sea Systems — Part 1: Choosing the Correct Wire Size for a DC Circuit — ABYC-based wire-sizing method: wire gauge depends on current draw and the full round-trip circuit length; 3% voltage-drop allowance for lighting/critical circuits vs 10% for non-critical; worked example (80A over a 50-ft round trip needs 4 AWG).
- SAE J1128 — Low Voltage Primary Cable — Industry construction standard for the stranded, insulated primary cable used in vehicle lighting and accessory wiring.
- EEPower — National Electrical Code Basics: Sizing and Protecting Branch-Circuit Conductors — The 125%-of-continuous-load / 80%-of-wire-ampacity derating principle behind sizing a fuse to protect the wire rather than just the load.
- RIGID Industries — Installation Instructions (E-Series PRO & SR-Series PRO) — Manufacturer instruction that a relay must be added in line if an existing switch's current rating is below the amperage the light requires.