
Affiliate disclosure: As an Amazon Associate, we earn from qualifying purchases, at no extra cost to you. We research rather than test, and commissions never change our rankings. This site is reader-supported: those commissions pay for hosting, research and keeping every guide up to date, so if a guide helped you, buying through our links is an easy way to support it. How we rank · Full disclosure
Many part-time 4WD systems allow shifting between 2H and 4H at moderate speed without stopping, but shifting into or out of 4-low generally requires the vehicle to be stopped, often in neutral — attempting either shift outside its correct conditions is the most common cause of a 4WD system failing to engage cleanly.
Shifting From 2H to 4H: What Manufacturers Actually Specify
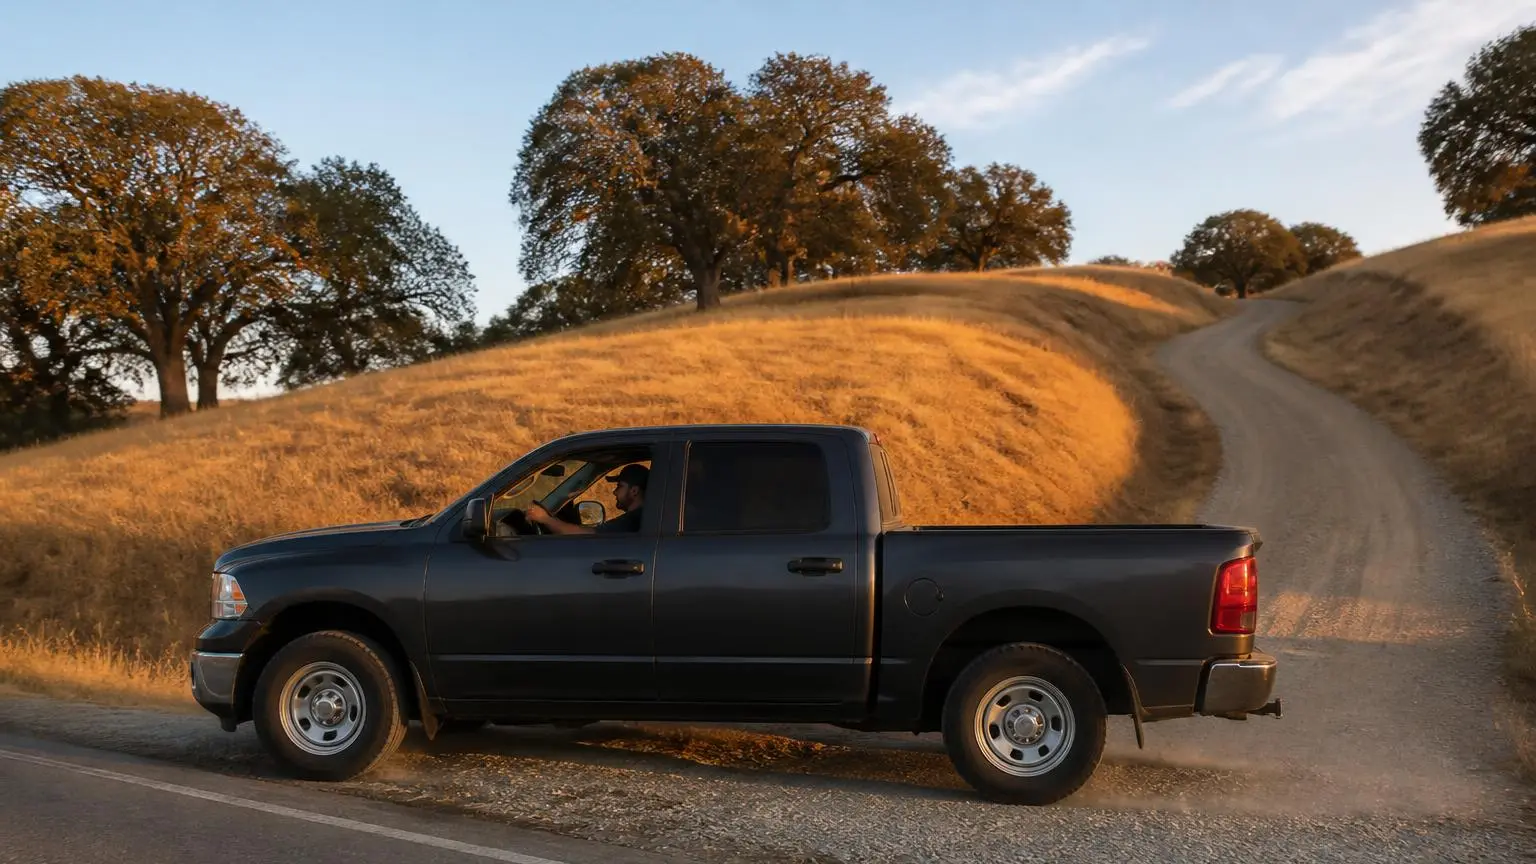
Many part-time 4WD systems support "shift-on-the-fly" between 2H and 4H, meaning the shift can be made at a moderate driving speed without stopping, up to a manufacturer-specified speed limit (see FAQ), and the limit itself varies by make. Ford's F-150 owner's manual allows a 2H/4H shift at any speed up to 55 mph. Toyota's Tacoma owner's manual sets a similar but distinct ceiling: keep speed under 62 mph (100 km/h) when shifting, and if the 4WD indicator keeps blinking with the buzzer sounding, stop or slow below that figure before retrying. Easing off the accelerator briefly during the shift, removing torque load from the drivetrain, is a widely reported technique that helps the shift engage smoothly rather than grinding or hesitating.
Shifting Into 4-Low
Shifting into 4-low generally requires the vehicle to be stopped or nearly stopped, and on many platforms the transmission needs to be in neutral for the transfer case's internal low-range gears to engage without grinding (see FAQ). Ford's F-150 manual is explicit that 4X4 Low will not engage above 3 mph. Jeep's Command-Trac and Rock-Trac systems specify the opposite technique for the same result: shift the transmission to neutral while coasting at 2–3 mph, then move the transfer-case lever firmly to the desired range without pausing in transfer-case neutral. Some newer electronically controlled transfer cases handle part of this automatically once the driver selects 4L, but checking your specific vehicle's procedure before a trip, rather than guessing at the trailhead, avoids a failed shift attempt under time pressure.
Shifting Back to 2WD
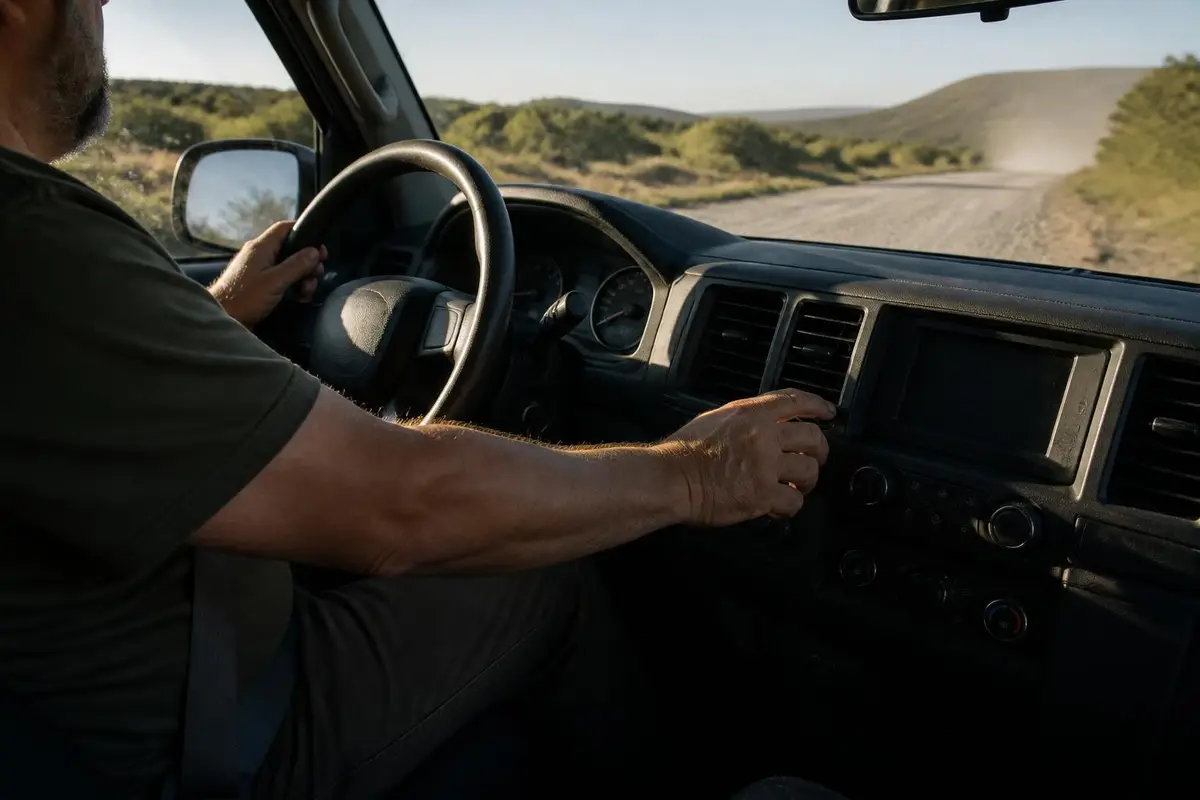
Returning from 4H to 2H generally follows the same shift-on-the-fly procedure in reverse, at or under the same speed limit. Returning from 4L requires stopping again, the same as the shift into it — see 4WD on the highway for why shifting back out of a locked mode before a sustained stretch of dry pavement matters, not just for convenience but to avoid drivetrain binding.
When a Shift Won't Engage
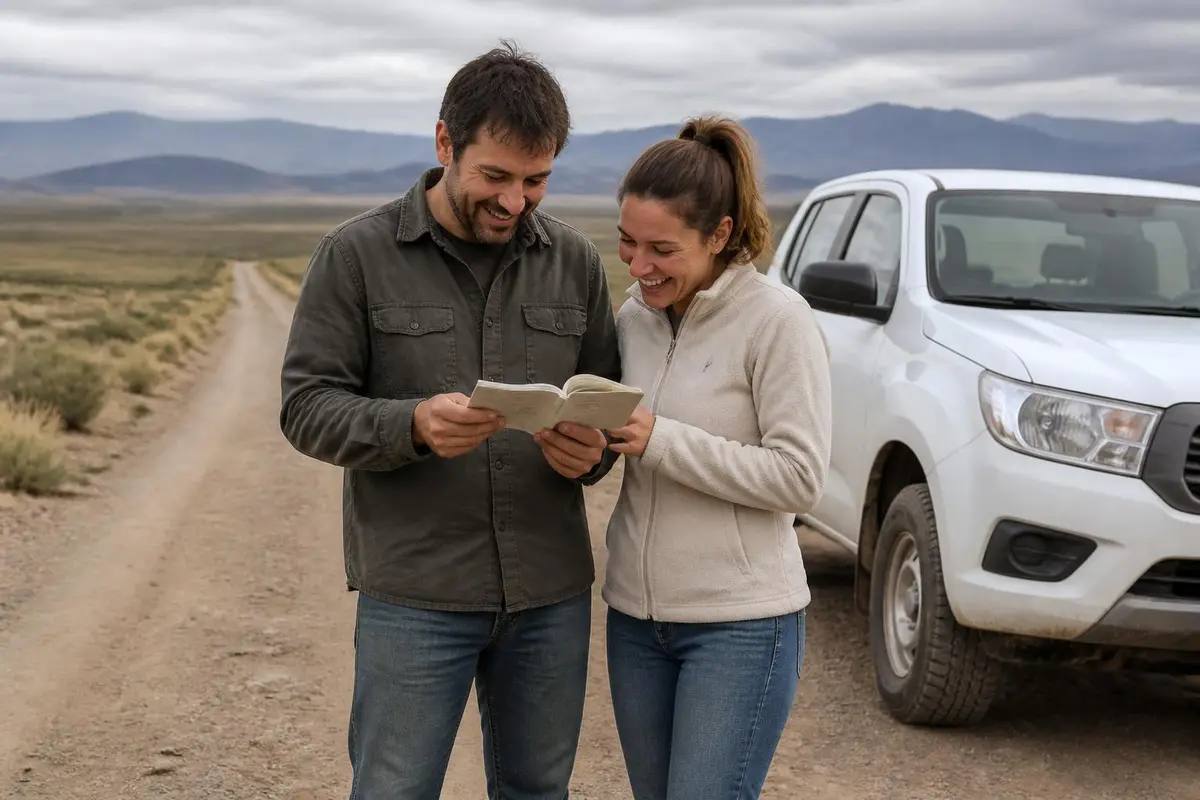
A shift that won't engage cleanly is most often caused by attempting it above the rated speed, residual drivetrain torque load, or a front-hub setting that isn't in the right mode for the front axle to actually receive power (see FAQ). Slowing down, briefly easing off the throttle, and reattempting the shift resolves most one-off failures; a shift that consistently won't engage across multiple careful attempts points to an actual mechanical or electronic fault worth having diagnosed rather than a technique issue.
Model-Specific Procedures
Even between the two documented procedures above — Ford's stopped-and-under-3-mph rule and Jeep's coast-in-neutral technique — the mechanics differ enough that guessing from a different manufacturer's habit is a real risk of a grinding or failed shift. Always check your specific vehicle's owner's manual for the authoritative procedure, speed limit and dashboard indicator behavior rather than assuming a general rule applies directly. See 4 high vs 4 low for when each range is actually appropriate.
Recommended gear
A first recovery kit for any 4WD
Affiliate disclosure: As an Amazon Associate, we earn from qualifying purchases, at no extra cost to you. Purchases through these links help keep this site running and up to date. Learn more

Best for a complete strap, shackle and glove kit in one bag.
- Straps, shackles, gloves, damper and a recovery bag in one kit.
- Covers most vehicle-to-vehicle recoveries without buying parts separately.

Best for getting unstuck from sand, mud or snow without another vehicle.
- Nylon recovery boards that give spinning tires grip in sand, mud or snow.
- Double as a shovel to clear sand from in front of the tires.

Best for airing all four tires down to a set pressure at once.
- Automatic deflators preset between 6 and 30 PSI.
- Air all four tires down at once, then stop at the set pressure.

Best for airing back up before you hit pavement.
- Portable 12V compressor rated to 150 PSI.
- Sized for truck and SUV tires.
We research products from manufacturer specs and owner feedback; we don't test them ourselves. How we choose.
Sources
- Ford — F-150 Owner's Manual: Shifting Between 2H and 4H; Shifting To/From 4L — F-150's 55 mph shift-on-the-fly ceiling for 2H/4H, and 4X4 Low not engaging above 3 mph.
- Jeep — Command-Trac / Rock-Trac four-wheel-drive operation procedure — Jeep's coast-at-2-3-mph-in-neutral technique for shifting into/out of 4-low, as an owner's-manual-sourced procedure distinct from Ford's stopped-vehicle method.
- Toyota Tacoma (2005-2015) Owners Manual — Four-Wheel Drive System — Tacoma's 62 mph (100 km/h) shift-on-the-fly ceiling and the blinking-indicator/buzzer behavior when a shift is attempted above it.